Case Overview
In many companies that have their own network of locations, users can select a specific facility (e.g., store, educational institution) when filling out the form. Each facility (in this case based on our client Mapeciaki we're talking about kindergartens) has its own dedicated email address, such as poland@digi2.agency or usa@digi2.agency. The goal was to ensure form notifications were sent to the relevant email address without cluttering the general mailbox or the main email accounts added to Webflow.
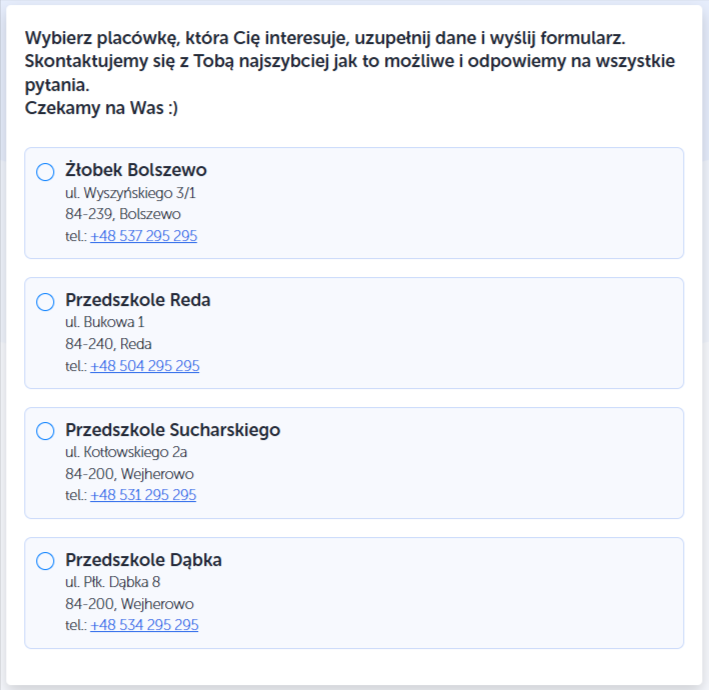
This setup might also be relevant for your business if you operate multiple locations, such as retail outlets, branch offices, or educational institutions, and want specific email notifications sent to each location. Below, we’ll explain step-by-step how we addressed this challenge.
Setting Up Notifications
We configure all notifications from sent forms in Webflow in the “Forms” tab of the Project:

We, however, want to split these forms and send them to specific offices – we can do this in two ways:
- using Webflow Logic – a built-in tool to automate workflows based on form submissions,
- using Webhooks and the Pipedream platform – similar tool to Zapier and Make.com.
Now we’ll focus on Webflow Logic.
Using Webflow Logic for Email Notifications
- Configure Email Addresses in Webflow
To use Webflow Logic, start by adding the specific email addresses to your Webflow project:
- Go to the Site Access tab in the project settings.
- Add the email addresses that should receive notifications.
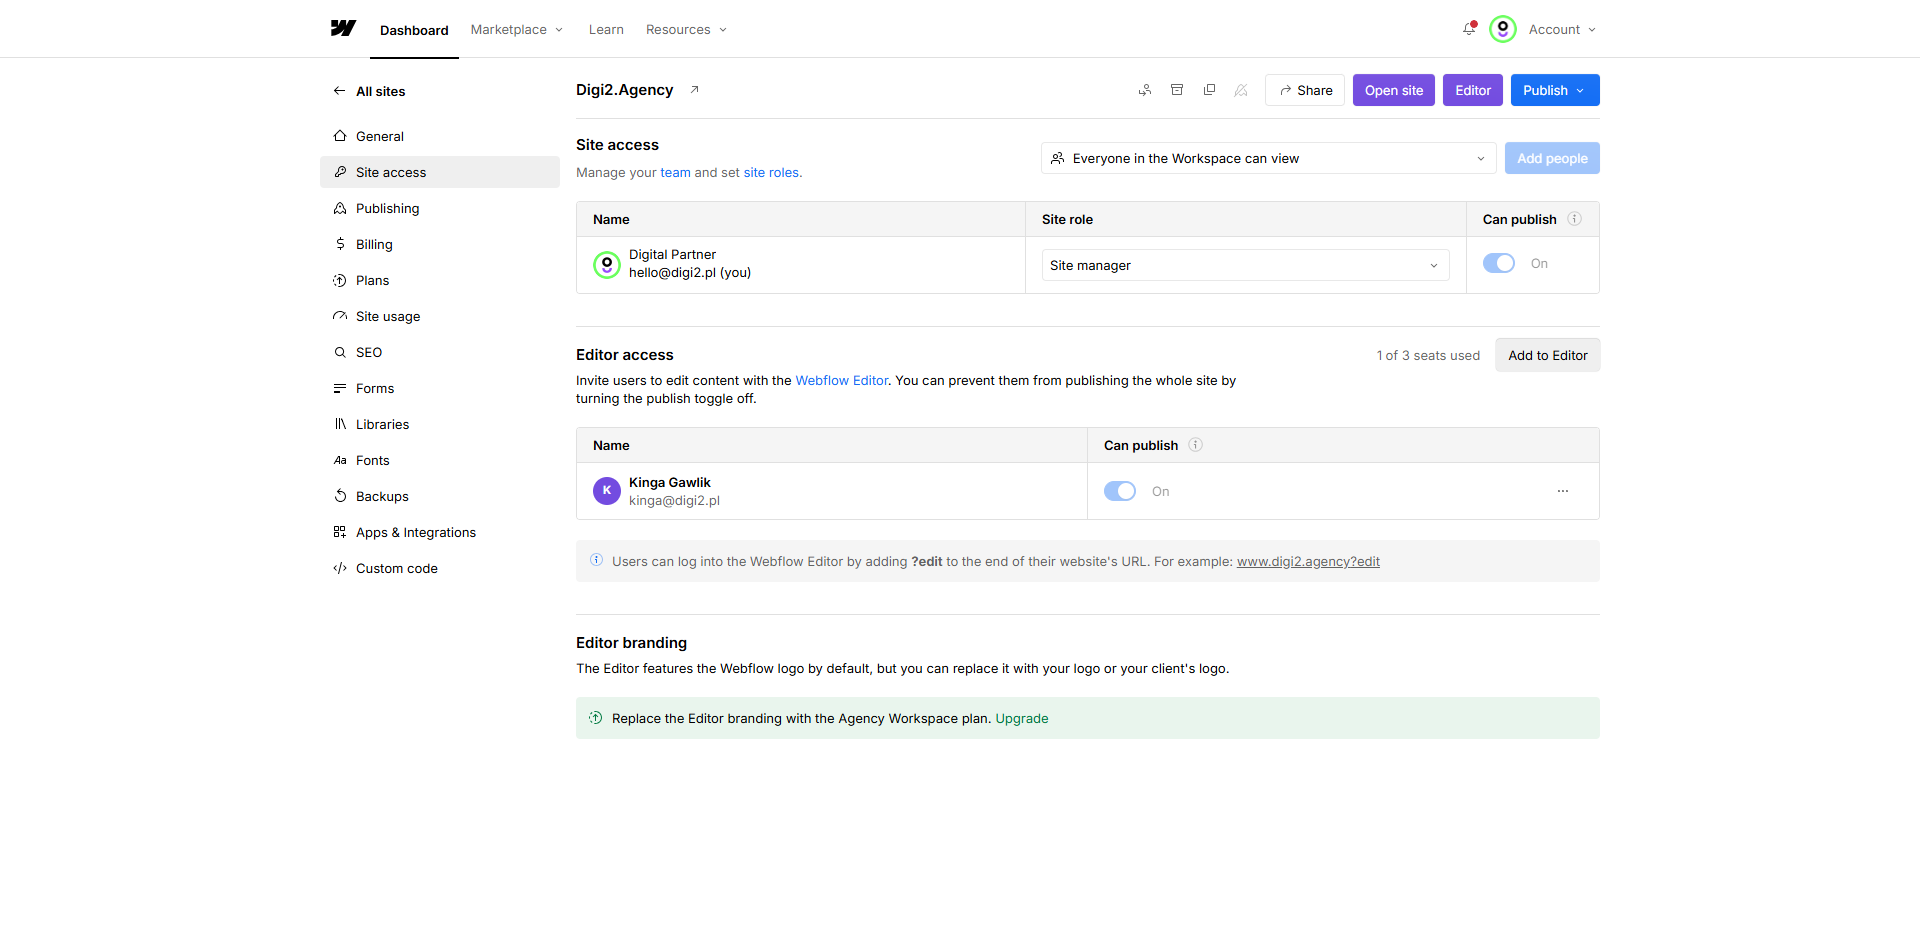
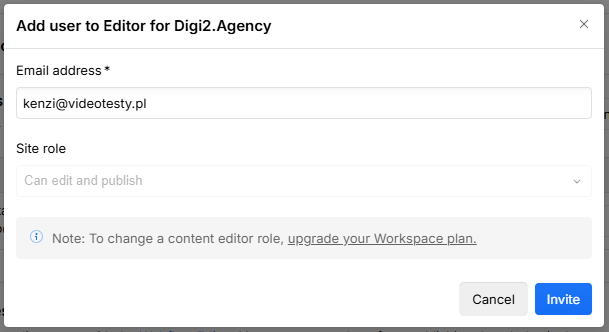
- Each recipient will get an invitation email. They need to accept and fill in their details.
.png)
- Click “Join now” and fill in the fields:
.png)
Once the account is accepted, it will appear in the Site Access list. These email addresses are now available for use in Webflow Logic.
.png)
And from now on we can use this email address in Webflow Logic.
Webflow Logic's Configuration
So let's move on to Webflow Logic's configuration:

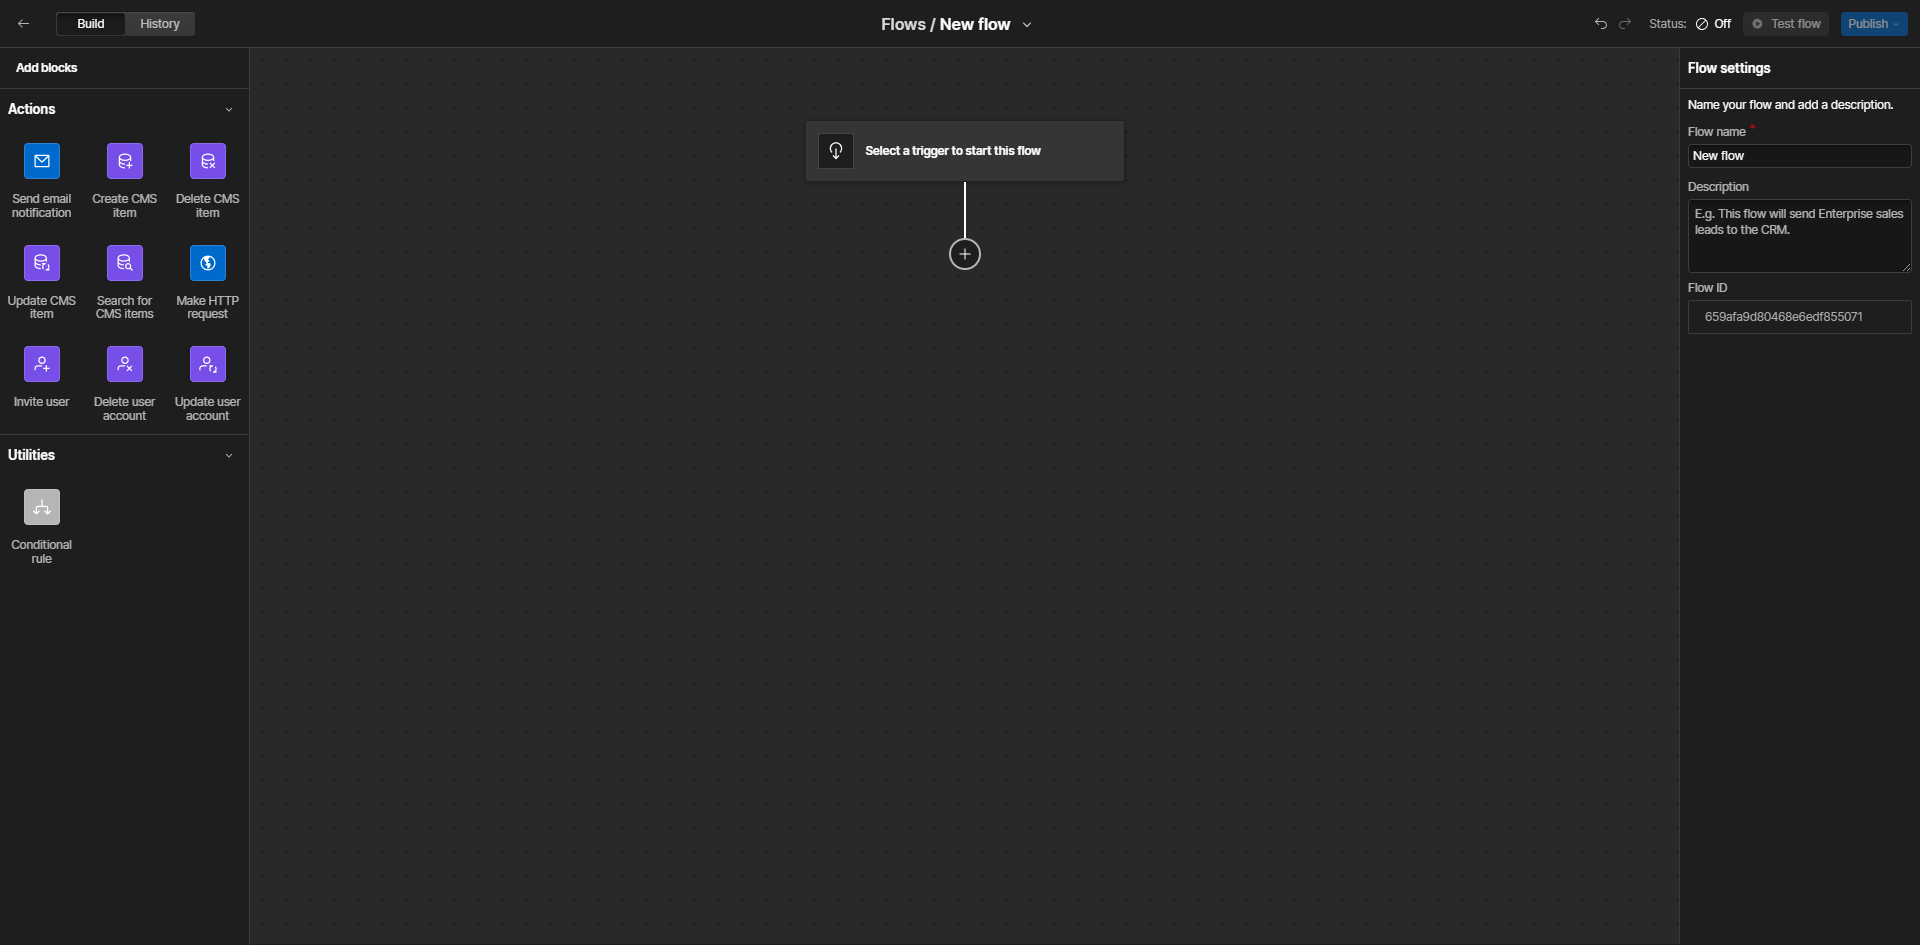
Click Select trigger and choose “Form submission.”
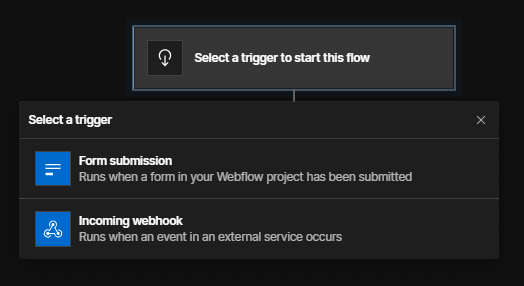
Assign the Flow to the relevant form. Note that a form can only be assigned to one Flow.
.png)
We build flow logic, create Conditionals type blocks to check which office the user selected in the form, and email the office to send an email notification:
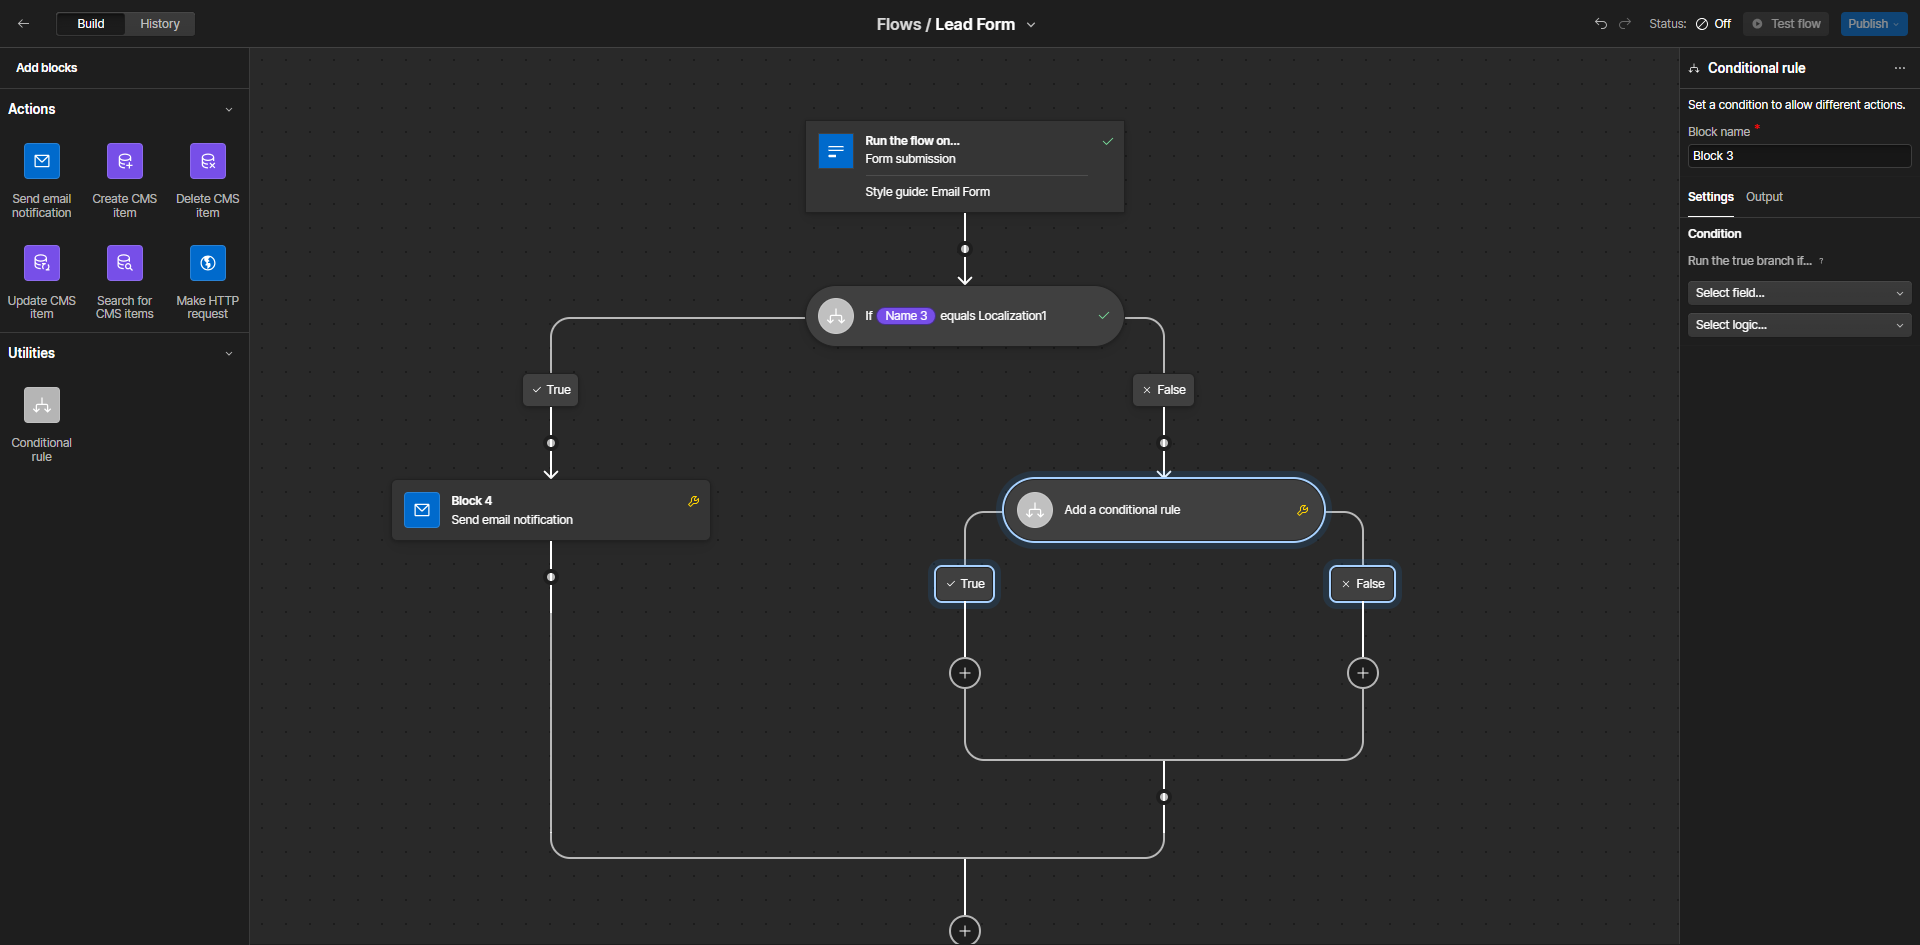
We select the field on which we will verify the location of the office in order to send an email to a specific facility:
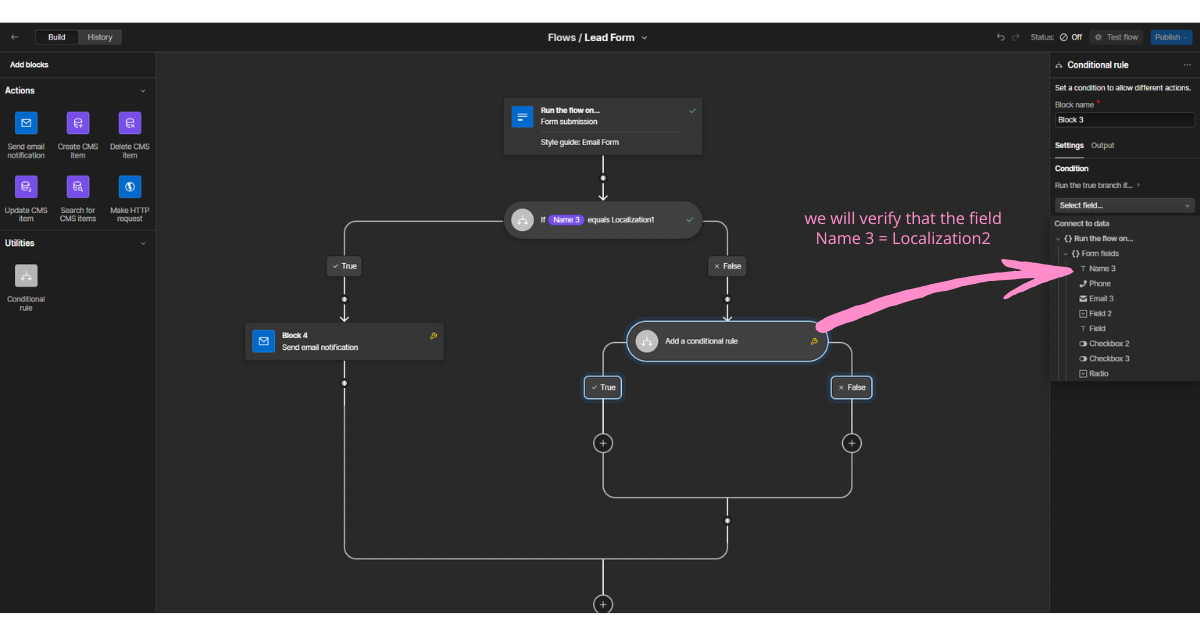
And we choose the logic to verify what is filled in the field (by the user).
.png)
.png)
And to True / False we add the corresponding blocks:
.png)
In the case of the "Send email notification" block, we can select the accounts that have access to the project in Webflow – this is also why we added the corresponding email addresses:

You can use all the form field data in whole flow blocks. Below is an example of a block "Send email notification" – as you can see, there are several fields available in the form. You can set a different subject and a different message for each email block in the flow.
.png)
When you finish working with the Webflow Logic, you should publish it. Sometimes this information will appear:
.png)
This means that some blocks, fields actually require emergency data.
To navigate blocks that require fallback data, check the flow view and find the yellow sign:
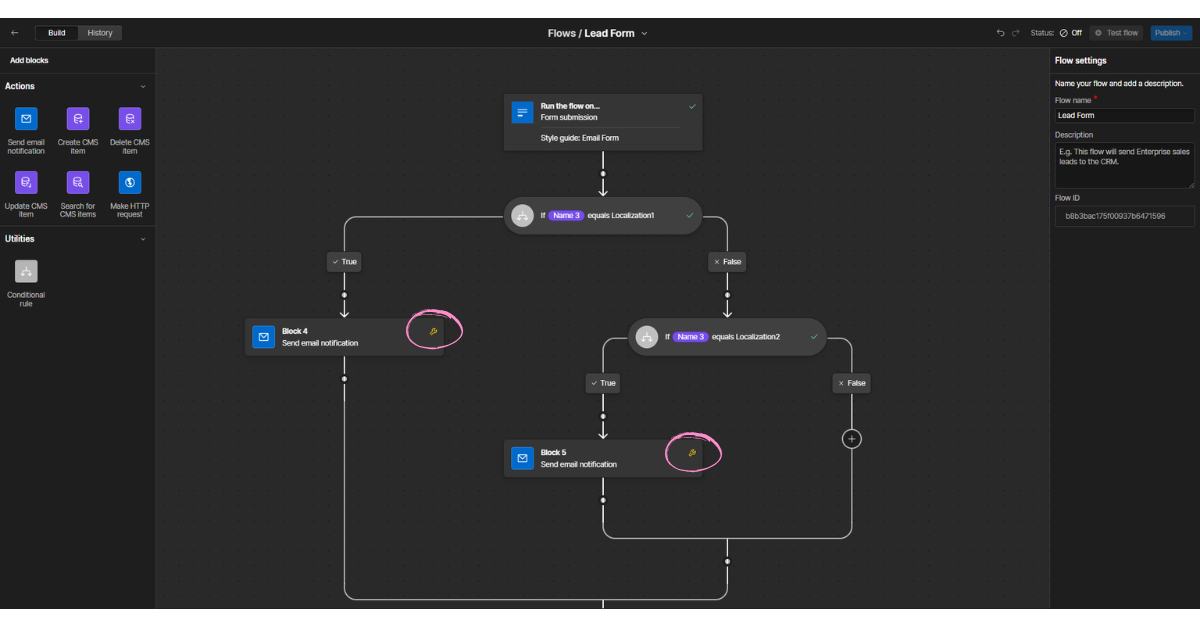
Click on these blocks:
.png)
And again you will see that yellow mark in the fields you used in the message. Click it and set the default fallback data:
.png)
Once you're done with the fallbacks, you can publish your flow:
.png)
After saving, publish the project so that the flow starts automatically.


