
Let's start from the beginning.
What Are Components in Webflow?
Components in Webflow are essentially blocks of content that can be reused throughout your site. They allow designers to create consistent layouts and styles while reducing the time spent on repetitive tasks. By utilizing components, you can manage recurring layouts and content more efficiently, ensuring a cohesive design across your web pages.
Key Benefits of Using Components
- Consistency: Components help maintain a uniform look and feel across your website. Changes made to a master component automatically propagate to all instances, ensuring that your design remains consistent.
- Efficiency: By reusing components, you save time during the design process. Instead of creating similar elements from scratch, you can simply drag and drop existing components onto your pages.
- Scalability: As your project grows, components make it easier to manage complex designs. You can create unique content for each instance while keeping the underlying structure intact.
Creating and Managing Components
Step 1: Accessing Your Webflow Project
To start working with components, log in to your Webflow account and open the desired project.
Step 2: Creating a Component
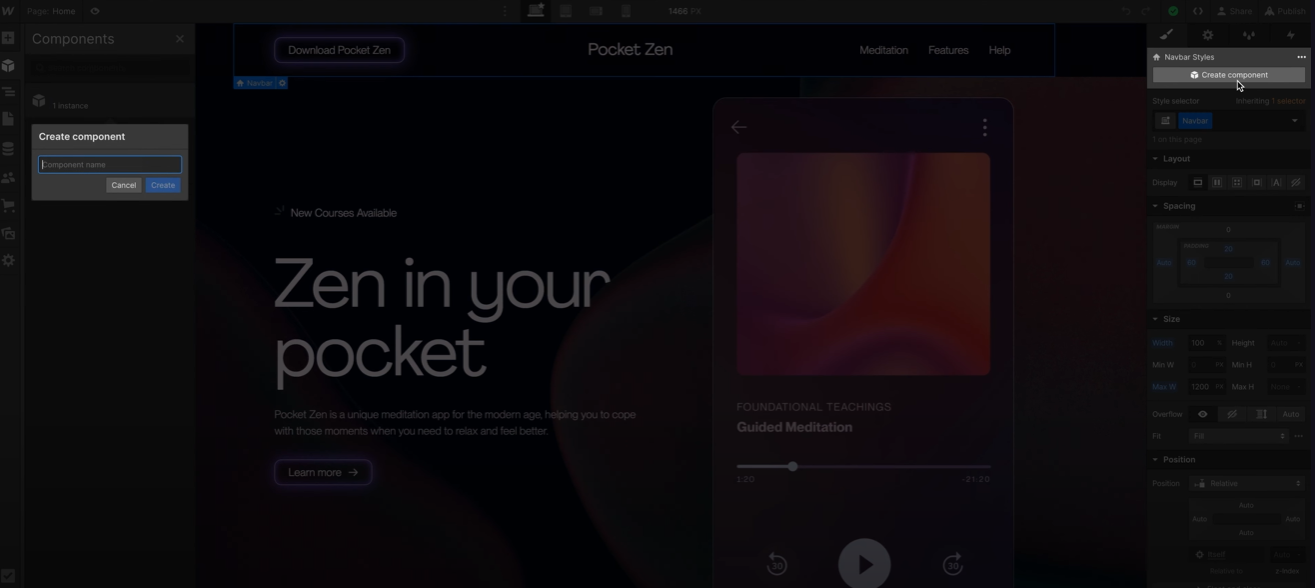
- Design Your Element: In the Webflow Designer, create the element you want to convert into a component (e.g., a navigation bar or button).
- Convert to Component: Right-click on the element and select "Create Component" from the context menu.
- Name Your Component: Assign a name that reflects its purpose for easy identification later.
Step 3: Customizing Property Settings
Once you've created a component, you can customize its properties:
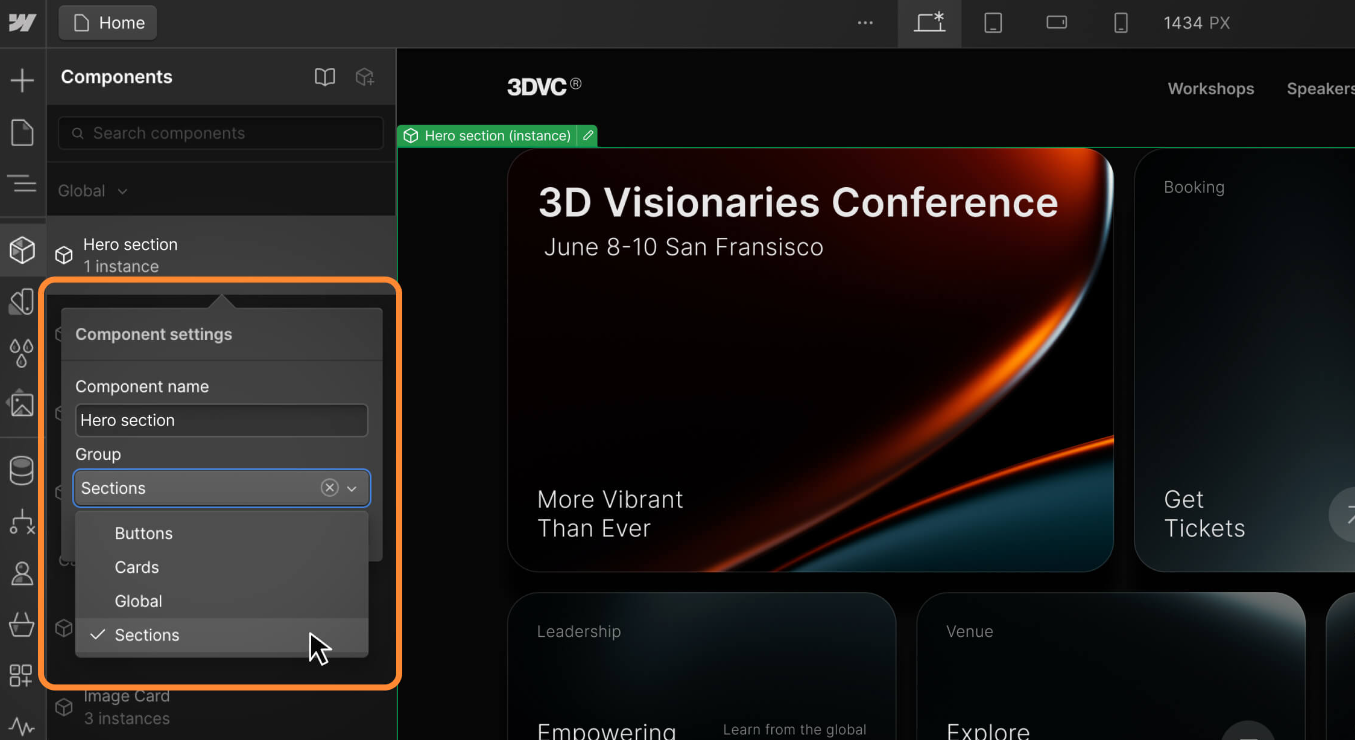
- Edit Properties: Click on the component in the Components panel to access its settings.
- Define Custom Properties: Set properties such as text content, colors, sizes, and visibility options that can be modified for each instance.
Working with Component Instances
Components can have multiple instances throughout your project. Here’s how to effectively manage them:
Adding Instances
- Drag and drop instances of your component onto any page within your project.
- Each instance inherits properties from the master component but can be customized individually.
Editing Instances
- To edit an instance, click on it to access its properties in the right panel.
- You can override specific properties without affecting the master component or other instances.
Advanced Features of Components
Property Overrides
Webflow allows you to use property overrides for individual instances. This means you can change specific attributes (like text or visibility) for one instance while keeping others unchanged. This flexibility is particularly useful for creating variations of elements like buttons or cards.
Nesting Components
You can also nest components within one another, allowing for complex layouts while maintaining control over individual elements. This feature enhances modularity in design, making it easier to manage intricate designs efficiently.
Connecting Properties to CMS Data
One of the most powerful aspects of Webflow components is their ability to connect with CMS data:
- Dynamic Content: You can link component properties directly to CMS fields (like images or text), allowing for dynamic updates across multiple pages without unlinking from the main component.
- Creating Collections: To connect properties effectively, ensure you have created relevant CMS Collections in your project.
Best Practices for Using Components
- Organize Your Components: As you create more components, use folders within the Components panel to categorize them for easy access.
- Maintain Documentation: Keep notes on how each component is used and any specific properties associated with them.
- Regular Updates: Periodically review and update your components as needed to ensure they align with your current design standards.


![[audit]flow](https://cdn.prod.website-files.com/682c0e3550b0b907e17394ea/682c0e3550b0b907e1739a5a_%5Baudit%5Dflow.avif)

