Learning Webflow depends on your starting point and how deep you want to go. For some, it might be a matter of days, while for others, it could take a few months. Whether you're a beginner or a seasoned pro looking for a new tool, learning Webflow can feel manageable if you take the right approach. In this article, we’ll break down the learning curve and give you actionable tips to accelerate the process.
Let's get to it.
Start with Webflow University
If there’s one golden rule for learning Webflow, it’s this: Start with Webflow University. This free resource is packed with bite-sized video tutorials that walk you through the platform step by step. Whether you’re learning the basics of the interface or diving into more advanced interactions, Webflow University is your fast track to proficiency.
- Tip: Dedicate at least 30 minutes a day to Webflow University for consistent progress. Within a week, you’ll already feel more comfortable navigating the platform.
Clone Ready-Made Templates
One of the fastest ways to learn Webflow is by reverse-engineering templates. Webflow has a vast library of free cloneable projects that you can import directly into your workspace. By studying these designs, you’ll quickly learn how various elements, interactions, and layouts are structured.
- Tip: Start with simple templates and gradually move to more complex ones. Break them down by experimenting and changing things to see how they work. This hands-on approach will help you learn Webflow much faster than building from scratch right away.
Use Webflow’s Visual Editor (Drag-and-Drop)

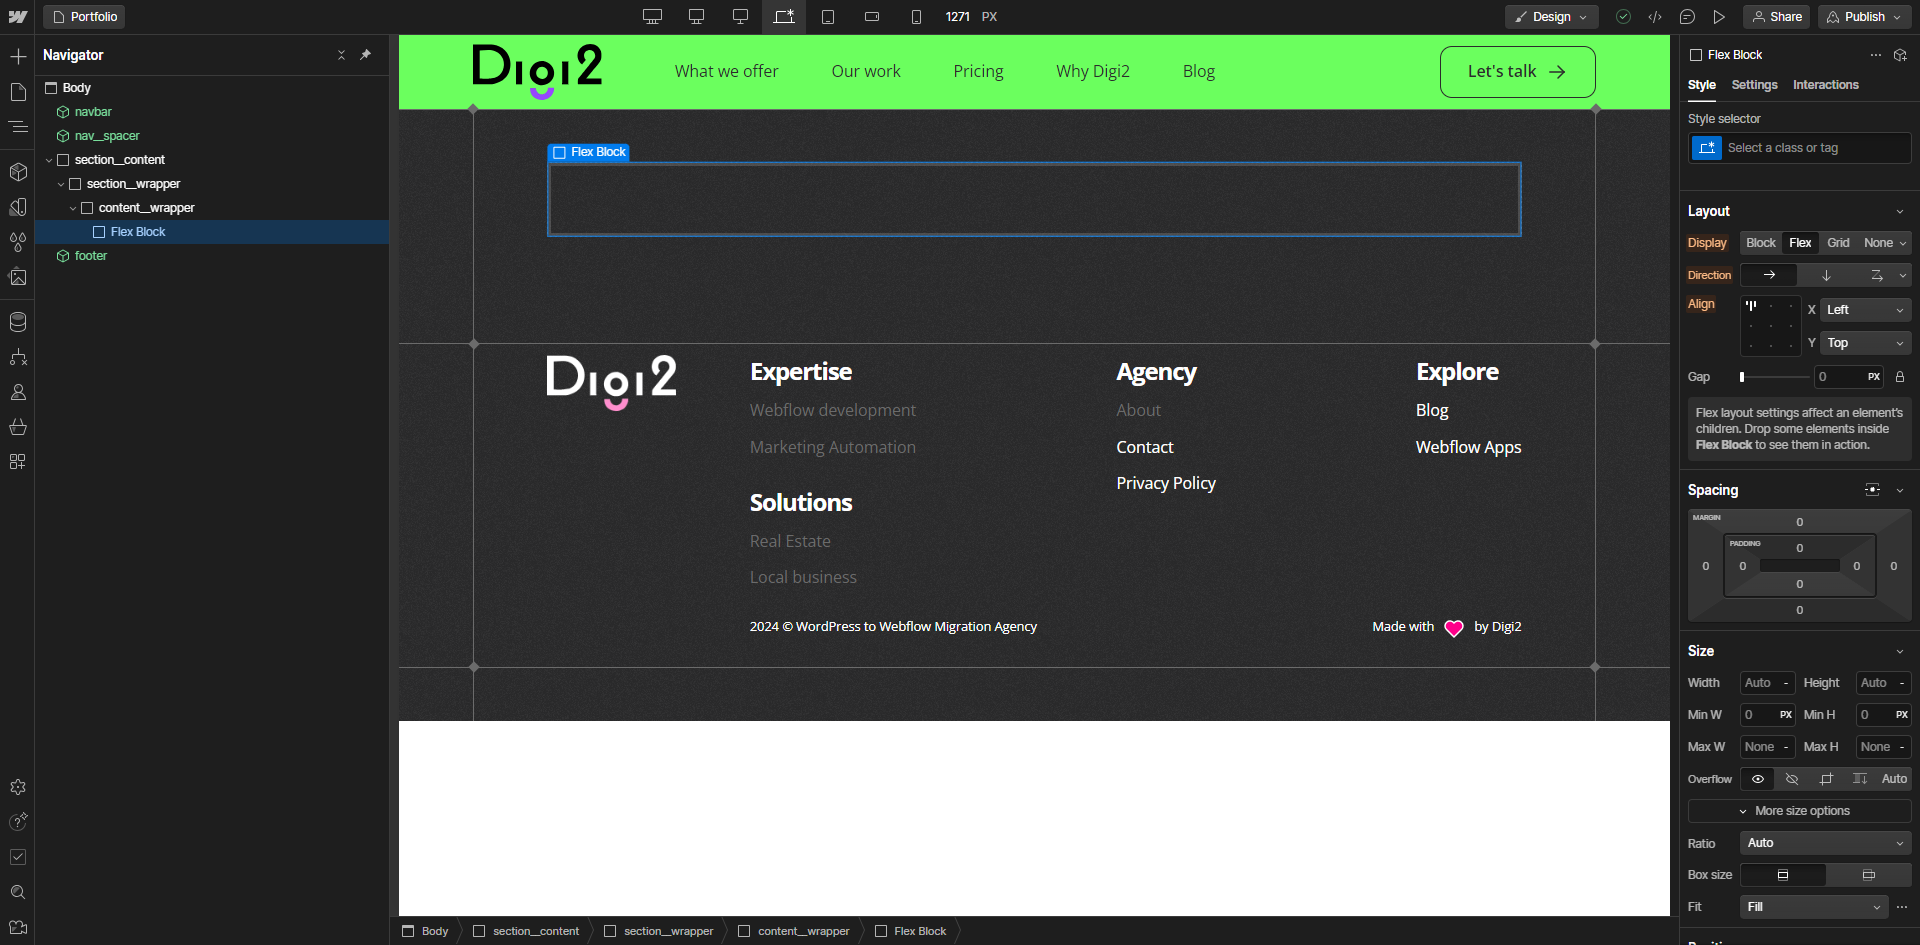
Webflow’s visual interface is incredibly intuitive. If you’re not a coder, focus on mastering its drag-and-drop features. The visual editor gives you total control over the design, without needing to write any HTML, CSS, or JavaScript.
- Tip: Create a small project—a simple homepage, for example—and challenge yourself to build it entirely with Webflow’s drag-and-drop tools. You’ll learn how to place elements, control styling, and even add animations, all in a matter of hours.
Leverage the Power of Flexbox and Grid

One of the key learning points for Webflow is mastering layout techniques like Flexbox and CSS Grid. These tools allow you to create complex, responsive layouts with ease, and Webflow makes them incredibly visual.
- Tip: Learn Flexbox and Grid through Webflow’s visual interface by watching tutorials and applying them in your own designs. This will give you the freedom to create more dynamic, professional websites, and the faster you grasp these layout techniques, the more empowered you’ll feel in Webflow.
Replicate Existing Designs
Another great way to fast-track your Webflow learning curve is to replicate existing websites. Choose a website you admire and try to recreate it in Webflow. This exercise will challenge you to think critically about layout, interactions, and responsiveness.
- Tip: Don’t worry if your replication isn’t perfect! The goal is to push yourself to learn Webflow’s tools more deeply. Within a few weeks, you’ll start noticing significant improvements in your understanding and confidence.
Learn Keyboard Shortcuts

Webflow is packed with time-saving shortcuts that can drastically speed up your workflow. Learning these shortcuts early on will allow you to build and design faster.
- Tip: Keep a cheat sheet of Webflow keyboard shortcuts handy and practice using them every day. For example, pressing CMD/CTRL + E opens up the Quick Find menu, which saves tons of time when navigating between tools and elements.
Start Small, Build Up
Many new users try to create large-scale projects right off the bat, which can lead to frustration. Instead, break down your learning into smaller, manageable projects. Start with landing pages or portfolios before moving on to multi-page websites or e-commerce stores.
- Tip: Challenge yourself to build a simple one-page website in under an hour. Over time, your speed and efficiency will improve, and so will your designs.
Join Webflow Communities
There’s no faster way to learn than by immersing yourself in a community of like-minded learners. The Webflow community is active, welcoming, and full of experienced users who are happy to answer questions, share tips, and offer advice.
- Tip: Join Webflow’s official forums, hop into the community on Reddit, or participate in Facebook groups. Surrounding yourself with other learners will keep you motivated and give you access to support when you’re stuck.
Use Free Resources to Boost Learning
Apart from Webflow University, there are a ton of free resources like YouTube channels, blogs, and third-party tutorials (like ours) that cover everything from basic site builds to complex interactions and animations.
- Tip: When you hit a roadblock, search for a tutorial that explains exactly what you’re trying to achieve. This will help you stay focused and avoid wasting time troubleshooting on your own.


