Before we dive into integrating GA4 into your Webflow project, it’s essential to have a GA4 account set up. Having a GA4 account is necessary for three of the methods that we will be covering shortly. If you haven’t created a GA4 account yet, don't worry – we can do that now. Simply visit Google Analytics to create an account. You will need a Google account, either a Gmail address or a company Workspace account, to get started.
And now let's smoothly move on to 3 ways to integrate GA4 with Webflow. No worries – we will show you everything step by step.
1st way:
We install GA4 by pasting the property ID in Webflow:
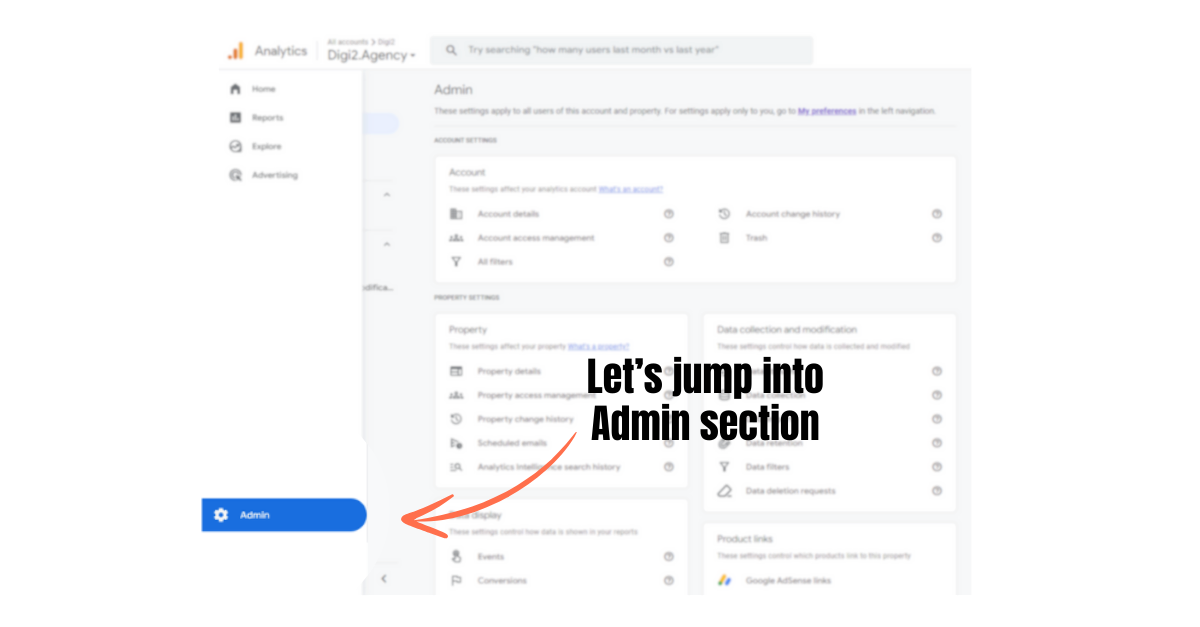
Moving on to Data Streams:
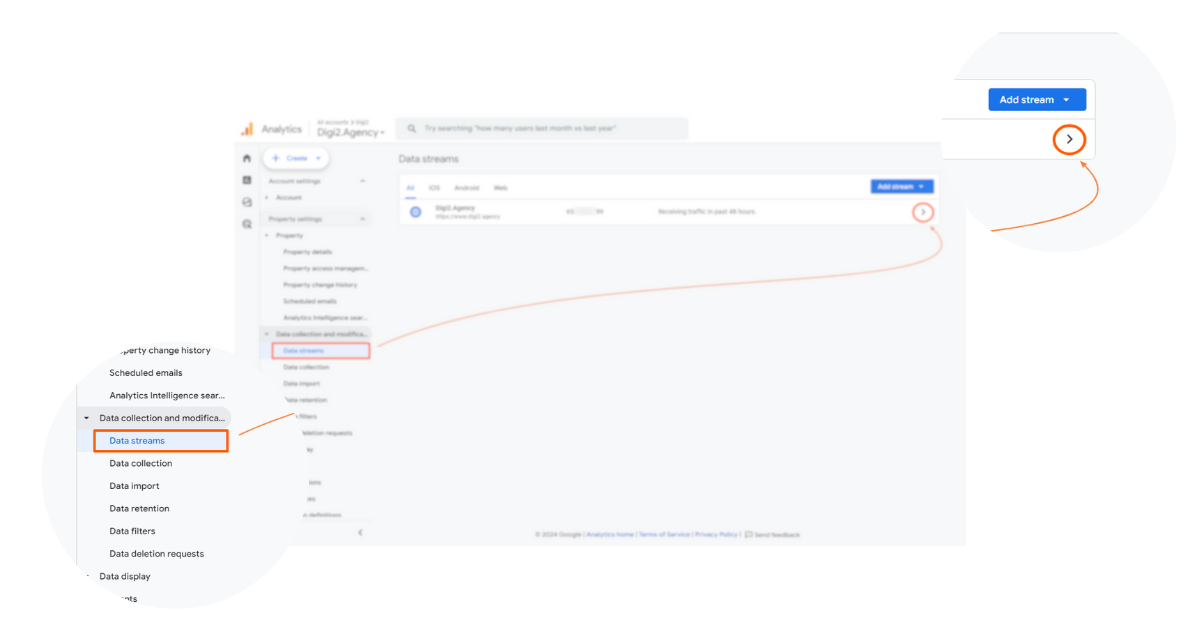
We copy the Measurement ID:

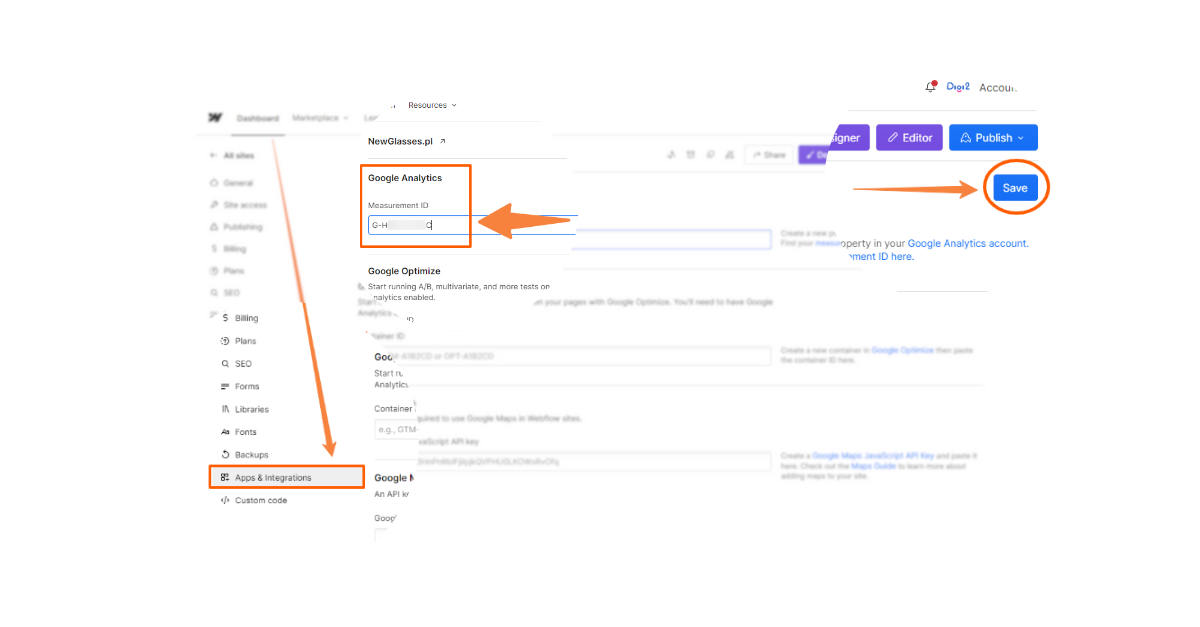
Paste it into Webflow:
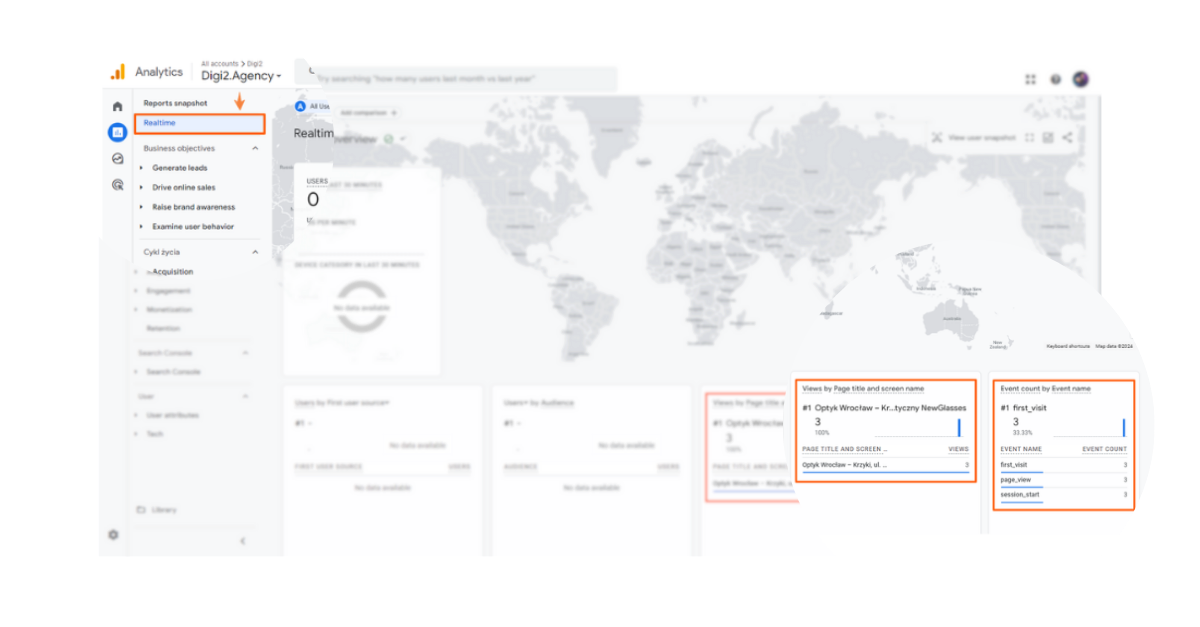
And we test real time:
2nd way:
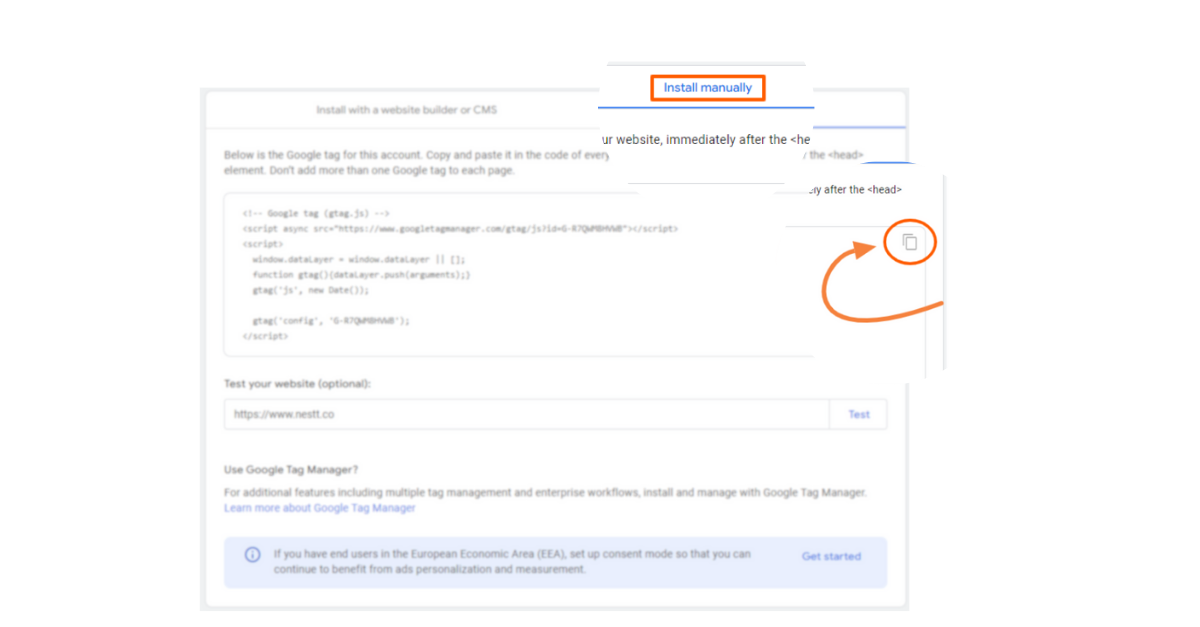
Copy the code for the GA4 installation and paste it into the <head> of the page in Webflow:
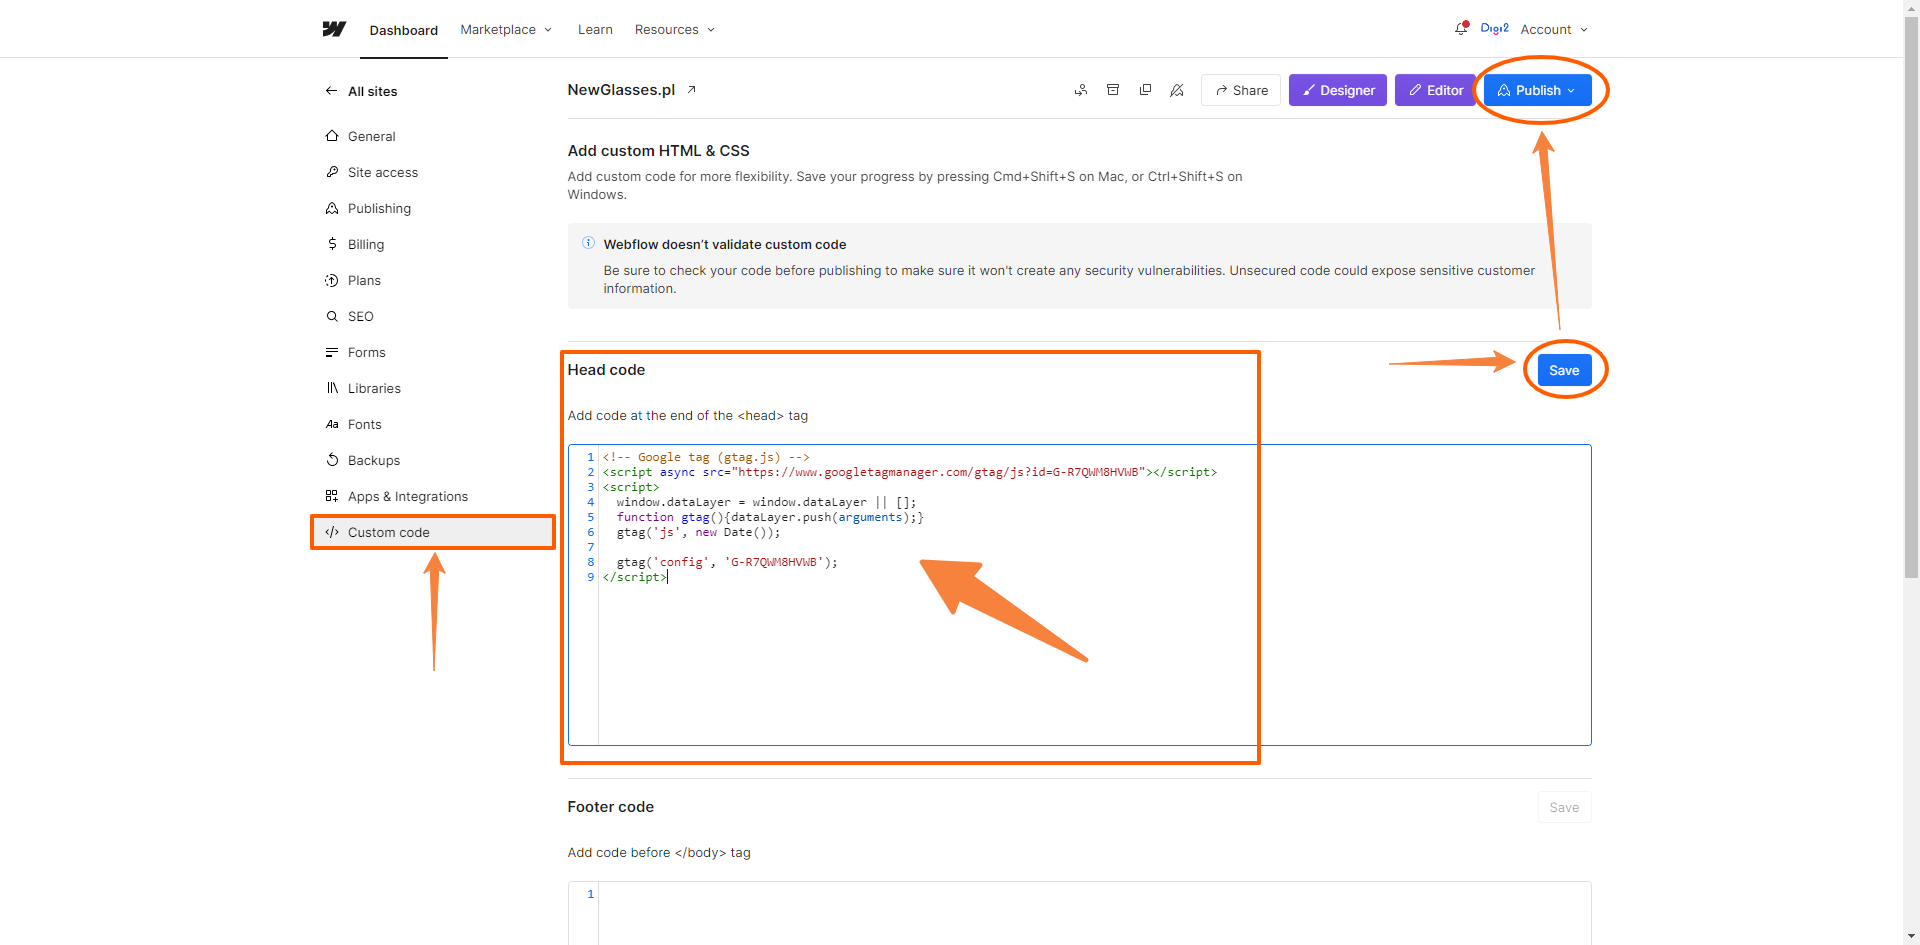
Paste it in the Custom code section of Webflow at the end of the <head> tag:
And finally, we also test the changes (as in 1st way).
3rd way:
This way works by GTM and uploading the code to Webflow.
We need to create an account on the website: https://tagmanager.google.com/
First of all, you need to create a new container. To add a web container:
1. Open Tag Manager.
2. In the Accounts tab, next to the account name, click More Actions > Create Container.
3. Enter a descriptive Container name and select the container type.
4. To create your container, click Create and agree to the Terms of Service.
Once we have the account created, we move to our created container:
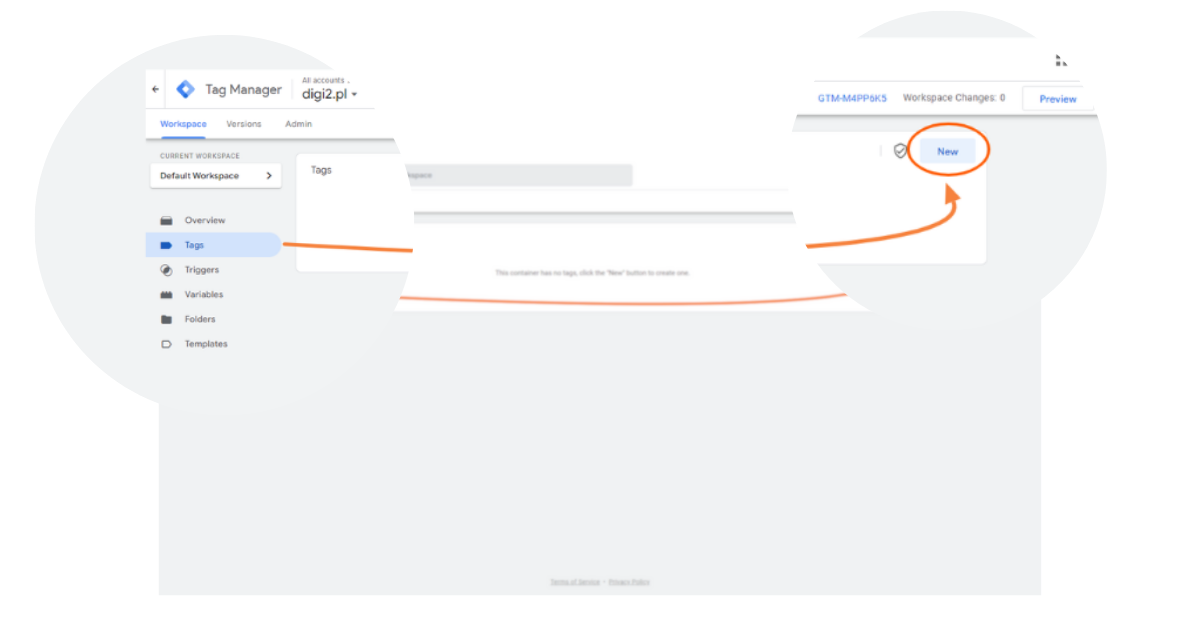
Now let’s create the GA4 tag:
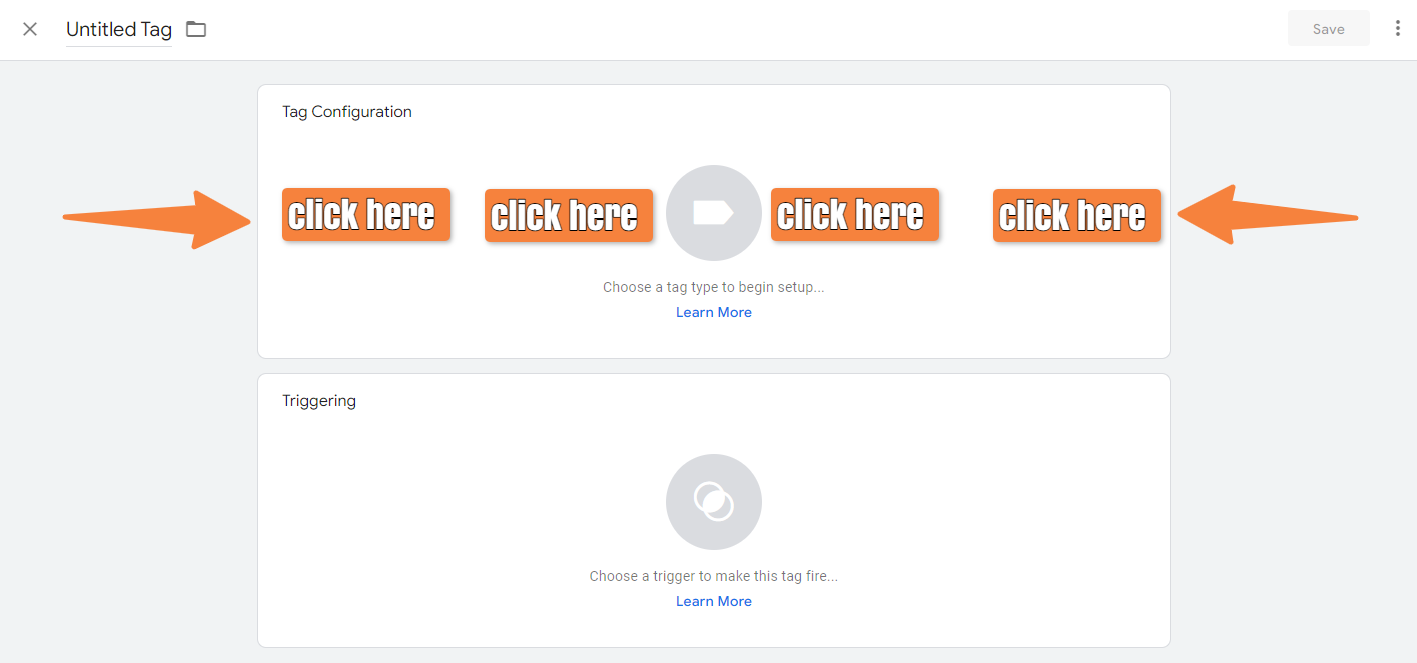
Choose Google Tag:
.png)
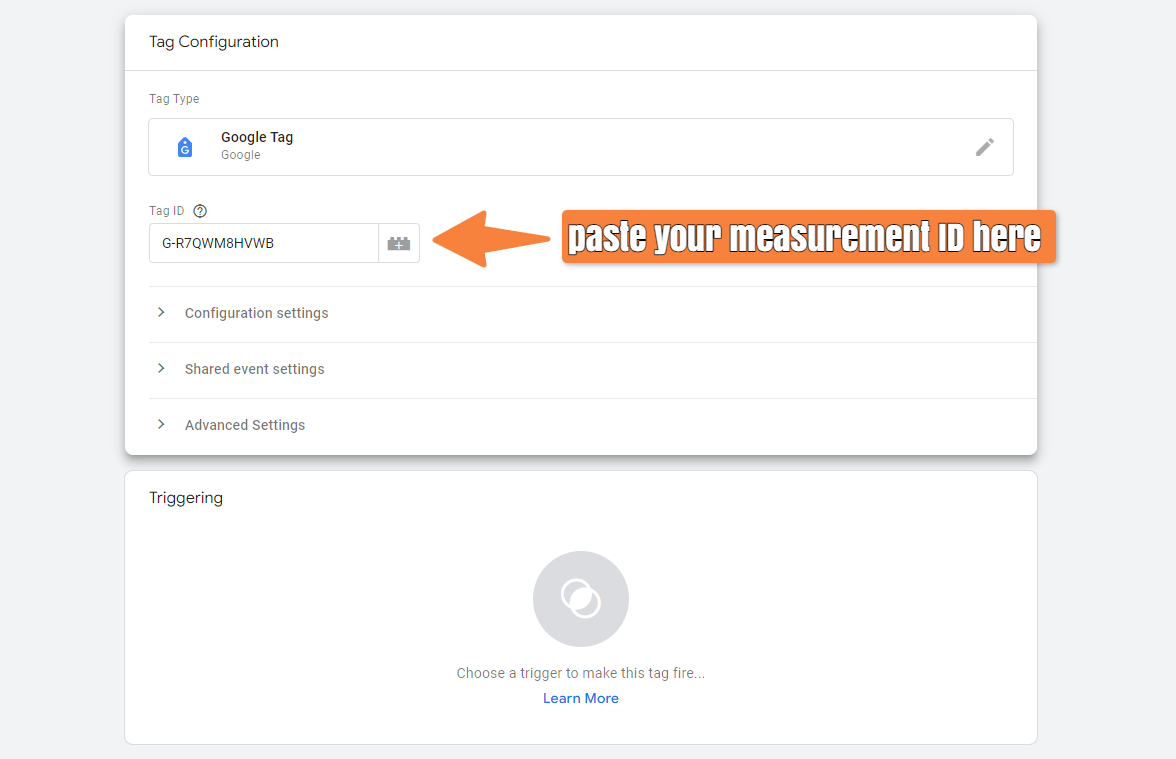
Now let's select the trigger for our GA4 tag:

Select All Pages (GA4 will monitor all pages on our webflow project):
.png)
Set the name for our GA4 Tag and save it:
.png)
Publish the changes by clicking submit:
.png)
.png)
Now add GTM code into Webflow project. First get GTM code:
.png)
.png)
Again log back into Webflow project and go into Custom Code section:
.png)
Verify data in GA4 realtime dashboard or in Google Tag Manager:
.png)
.avif)


